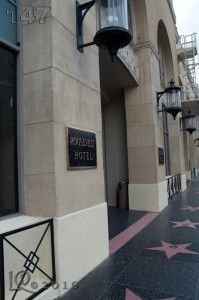
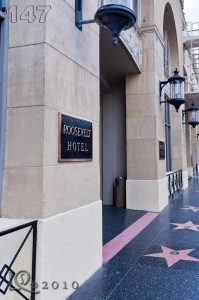
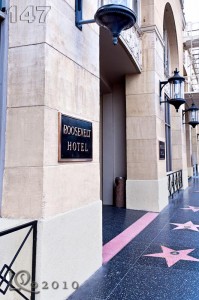
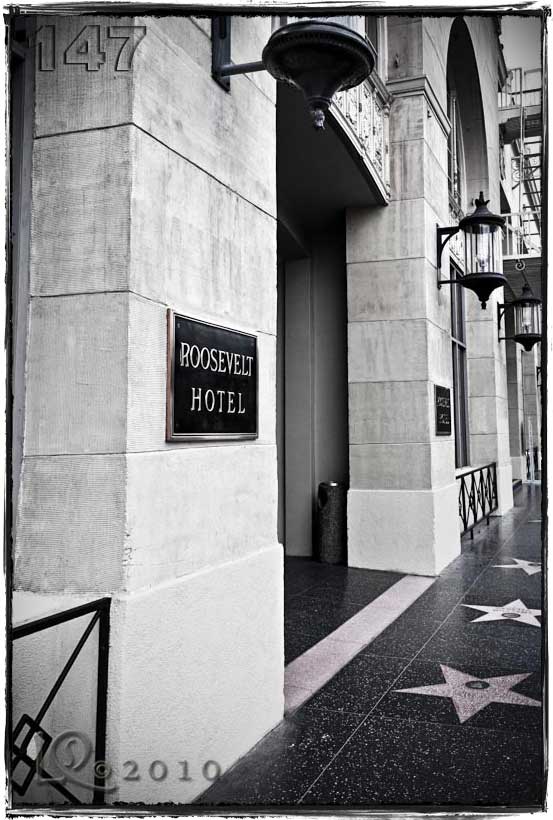
 While going through my archived photos from Hollywood, I decided to select a few more to post on the blog. One of my picks was this photo of the famous Hollywood Hotel and a few of the stars that line the Hollywood Boulevard sidewalks. After processing the photo I thought that it would serve as a another example of the difference a little bit of image editing can make. The first of the three color images is the original RAW photo as imported from my camera. Notice the distortion to the lines of the building, as well as the exposure. Not a bad snapshot, but not a particularly good photo.
 A feature of Lightroom 3 is Lens Correction, which can make corrections for a myriad of cameras and lenses. There is also a manual setting that can be used for additional corrections. By manipulating the vertical, horizontal, and rotation settings, I was able to eliminate most of the distortion. Also in Lightroom, I adjusted the exposure and contrast before sending the image to Photoshop for additional processing.
The “tweeks” I made in Photoshop, using levels and curves adjustment layers, gave the photo a punch that made it look that much better.
After working in Photoshop I always bring my images back into Lightroom, where I sort, organize, and virtually store my photos — and sometimes I do some additional editing. In this case, I thought the photo would look better as a black & white print with a bit of vignetting to darken the edges and de-emphaize the background. If you click on any one of the images and cycle through them, using the control arrows at the bottom-right of the larger images, you can see the dramatic difference a little editing can do. While I used Lightroom and Photoshop, you can achieve similar results with a combination of Lightroom and Photoshop Elements.
